For me there is no better day to show off my barbequing skills than on the most important American Holiday of all- The 4th of July. Since barbequing is an all American summer pastime on the all American Holiday I’m going to fire up the “Q” to get the party started. Not only is 4th of July the all American Holiday for barbequing it is the all American Holiday for an outdoor party.
This is my menu for a great 4th of July barbeque.
4th of July Feast
Appetizers
Gazpacho
Cedar Plank Grilled Shrimp with Tzatziki
Tortilla Chips
Dinner
Grilled Marinated Flank Steak with Chimichurri
Grilled Maine Lobster with Sweet Corn and Tiny Potatoes
Roasted Moroccan Potato and Olive Salad With Roasted Lemon Vinaigrette
Swamp Cabbage Slaw
Pickled Curried Carrots
Dessert
Key Lime Bars with Italian Meringue
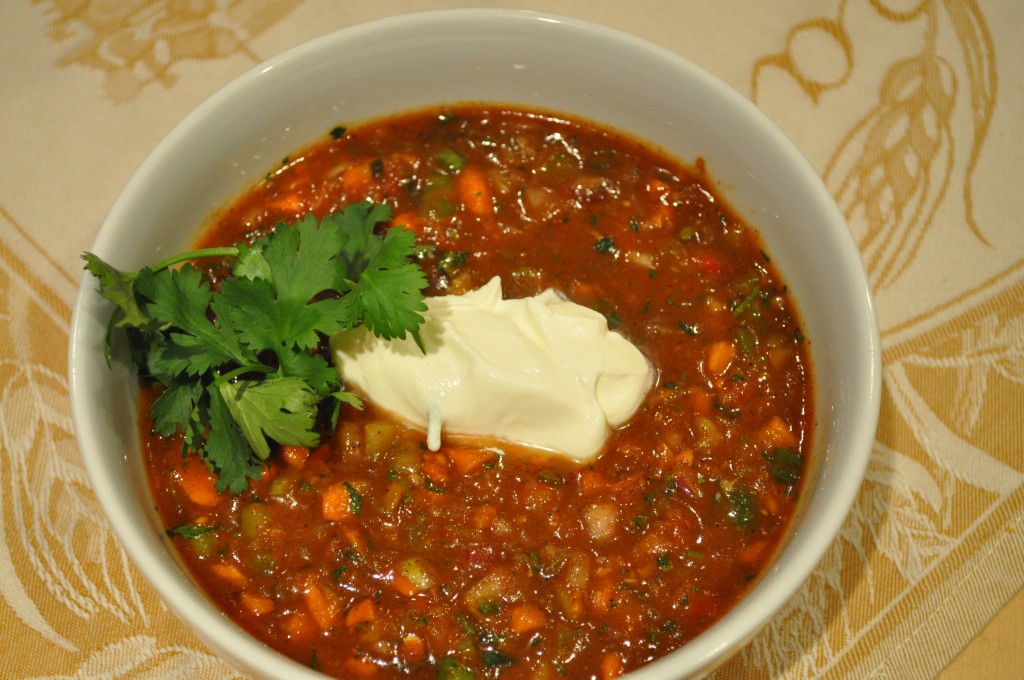
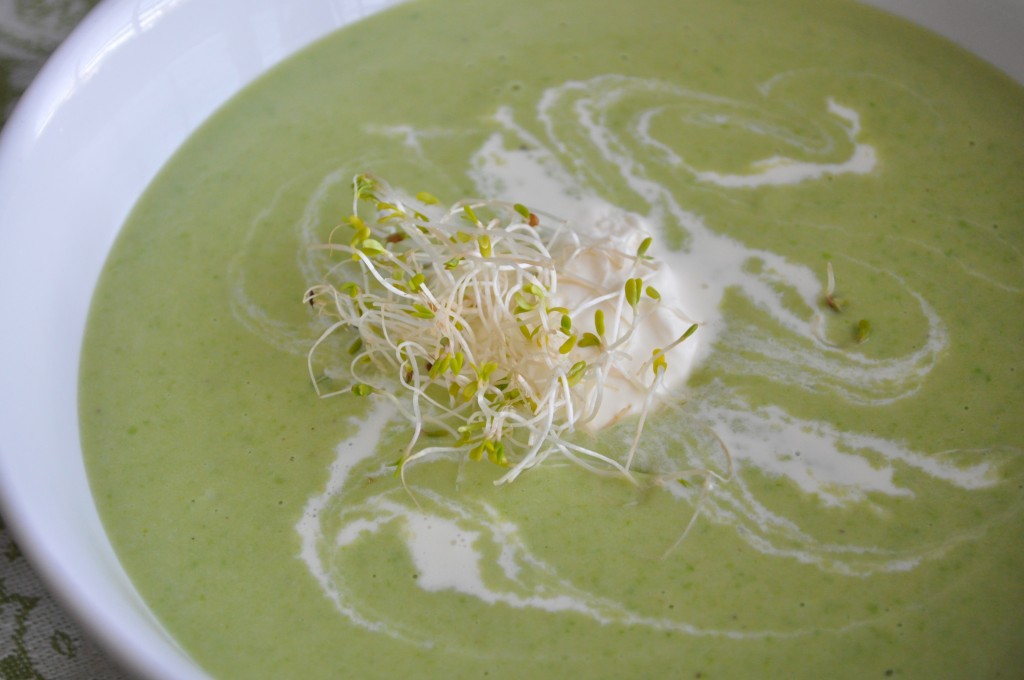
Gazpacho
Cool and refreshing, gazpacho makes for a light starter. This wonderfully tasty and visually beautiful soup is very low in fat and loaded with tons of good for you veggies. The recipe may look daunting with so many ingredients but it is well worth the effort. You can either chop all by hand for a perfect look or chop using a food processor for a more rustic appearance. If you choose to use the food processor, chop each ingredient separately. Pulse when you chop to avoid turning the ingredients into a liquid like mush. The finished product gets better with age and making it a day or two before serving will make the gazpacho even tastier.
Makes 12 Servings
2 Red Bell Peppers, Seeded and Finely Diced
2 Yellow Bell Peppers, Seeded and Finely Diced
1 Jalapeno, Seeded and Finely Diced (Leave Seeds in for a Spicier Taste)
2 Pounds Vine Ripened Beef Steak Tomatoes, Seeded and Juice Squeezed Out, Chopped Coarse
4 Large Carrots, Peeled and Finely Diced
2 European Cucumbers, Seeded and Finely Diced
4 Celery Stalks with Leaves, Finely Diced
1 Medium Red Onion, Finely Diced
6 Scallions, Finely Diced
6 Roasted Garlic Cloves, Smashed into a Paste
½ Cup Chopped Cilantro
1 Tablespoon Chopped Fresh Basil
1 Tablespoon Chopped Fresh Oregano
1 Teaspoon Chopped Fresh Thyme
1 Tablespoon Chili Powder
1 Teaspoon Ancho Chili Powder
1 Teaspoon Chipotle Powder
1 Tablespoon Cumin Powder
1 48 Ounce Bottle V8 Juice
1 Tablespoon Worcestershire Sauce
1 Teaspoon Tabasco Sauce
¼ Cup XVOO
2 Tablespoons Red Wine Vinegar
1 Tablespoon Coarse Sea Salt
1 Teaspoon Freshly Ground Black Pepper
Crème Fraiche and Fresh Cilantro for Garnish
In a large bowl mix all ingredients. Once mixed, pour into a large container with a lid and refrigerate overnight.
Serve chilled in individual bowls with a dollop of Crème Fraiche and a sprig of fresh cilantro.
Cedar Plank Grilled Shrimp
I like to use large shrimp when grilling because they take well to the heat and grill of a barbeque. The amount of shrimp depends on how many people you are feeding and how much other food is going to be served. You know the old saying, “No matter how many shrimp you have it will never be enough”. An appetizer portion for a menu such as this 4th of July Feast is usually 2 to 3 shrimp per person using JUMBO shrimp such as U-12 or U-15 (U meaning under a pound – U-12 = 12 shrimp or less per pound).
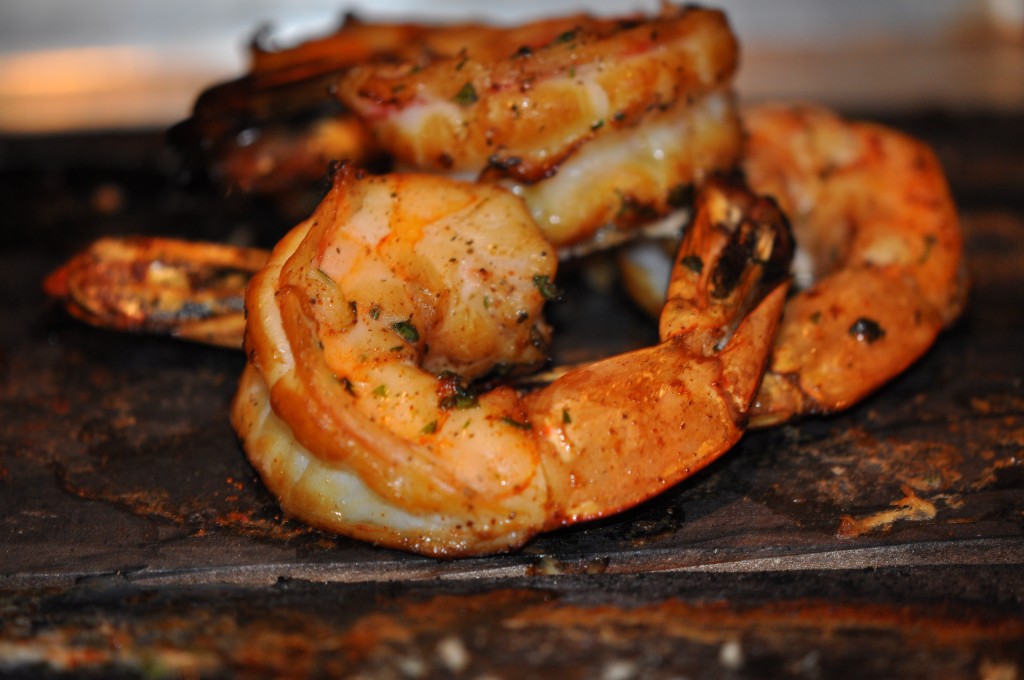
Marinate peeled and deveined shrimp in a drizzle of XVOO , several smashed roasted garlic cloves, freshly ground black pepper, several sprigs of fresh basil, thyme, oregano and flat leaf parsley. Cover and refrigerator for 1 hour. Remove herbs and garlic cloves before placing on planks. Sprinkle with coarse sea salt.
In the meantime, build a big charcoal fire in a grill with a lid such as a Weber Grill, and when the briquettes turn white spread them out in an even layer. Place the cedar planks on the grill and let them char for about 5 minutes. It’s always best to put the cover on the grill when you put the planks on the grill: They won’t catch fire. After 5 minutes of charring, flip them over and put the shrimp on the planks. Cover the grill and cook the shrimp for 4 minutes. Flip the shrimp over and cook, covered, for 4 minutes longer.
Transfer the shrimp to a large platter and drizzle XVOO. Serve warm with Greek Tzatziki.
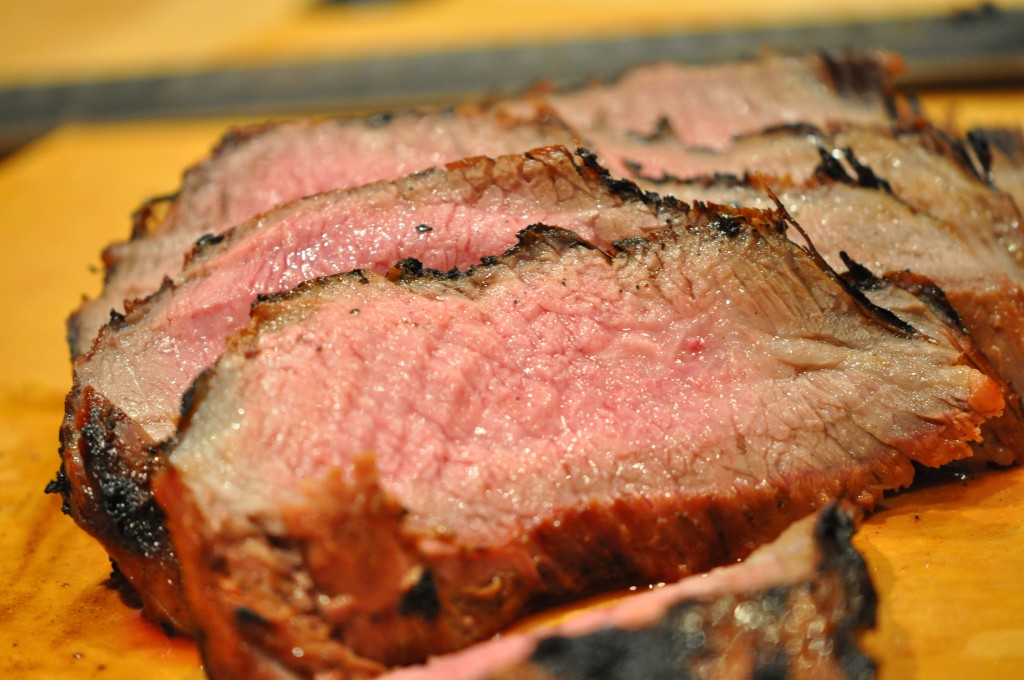
Marinated and Grilled Flank Steak
Nothing says summer more so than steak on the grill. With the flavorful marinade in which the steak bathes and cooks, the aroma is quintessentially summer. If you don’t have a grill you can do this on a cast-iron grill pan. Just be sure to turn on the exhaust fan. The smoke will be intense.
Marinated and Grilled Flank Steak
Serves 4
1 3 Pound Flank Steak
½ Cup Firmly Packed Dark Brown Sugar
½ Cup Dijon Mustard
½ Cup Soy Sauce
½ Cup Vegetable Oil
2 Teaspoons Sesame Oil
4 Garlic Cloves, Crushed (Unpeeled)
1 1 Inch Piece Fresh Ginger Thinly Sliced (Unpeeled)
1 Teaspoon Freshly Ground Black Pepper
1 Teaspoon Coarse Sea Salt at Grilling
In a bowl, mix the sugar and mustard to a paste, add soy and mix to combine. Slowly whisk in the two oils until emulsified.
Place the marinade in a shallow baking dish and dredge steak into the marinade. Turn the steak to coat it with the marinade. Add the garlic, ginger and black pepper. Cover with plastic wrap and refrigerate for at least 4 hours or up to 8 hours turning several times during the marinating time. If you marinate it more than 8 hours it will begin to cook and the meat becomes leathery.
Once steak has marinated, remove it from refrigerator. Take the steak out of the marinade and wipe off excess marinade with a paper towel. Bring the steak to room temperature for at least 30 minutes before grilling. In the mean time, heat your grill to medium-high. When grill is hot, grill the steak for about 6 to 8 minutes per side for medium rare, turning each side one quarter turn half way through each sides cooking. This will give you beautiful grill marks. I suggest cooking the steak with the grill lid closed.
Transfer to a cutting board and let rest for 10 to 15 minutes. Slice thinly across the grain on a slight angle and serve with Chimichurri.
Hints and Tips: You all know by now that I am against marinating meat, fish and poultry in acids such as wine, vinegar, soy or lemon juice because of the effect it has on the end product. BUT this recipe is an exception. The soy gives the steak a great flavor and, combined with the sugar, beautiful caramelization. Another BUT is you can’t let the meat stay in the marinade any longer than the 8 hours because it will begin to cook.
You can marinate the steak in a heavy-duty zip lock plastic bag as well. Place all of the marinade ingredients in the bag. Add the steak and be sure the marinade coats the meat. Don’t forget to place the bag in a bowl or dish to catch any marinade that might leak from the bag.
Grilled Maine Lobster with Herb Butter, Sweet Corn and Tiny Potatoes

Grilled Lobster
Serves 4
4 Whole Live Maine Lobsters Each Weighing 1½ Pounds
½ Cup XVOO
1 Tablespoon Coarse Sea Salt
2 Teaspoons Freshly Ground Black Pepper
2 Lemons Cut in Half Crosswise
1 Pound Tiny Red and Yukon Gold Potatoes
4 Ears of Corn on the Cobb, Husk and Silk Remove and Each Cut in Half Crosswise
2 Sticks Unsalted Butter, Slowly Melted
1 Tablespoon Fresh Chives, Finely Chopped
1 Tablespoon Fresh Cilantro, Finely Chopped
1 Tablespoon Fresh Basil, Finely Chopped
1 Teaspoon Fresh Oregano, Finely Chopped
1 Teaspoon Fresh Thyme, Finely Chopped
Make a charcoal fire and when the coals are mostly white with ash, hold your hand 5 inches above the coals. You will know the coals are ready when you can no longer keep your hand over the coals after 3 seconds. This is a medium to medium high heat. This is perfect to cook everything without having to reload the fire. If using a gas grill, heat to medium high.
Meanwhile, as the coals are getting hot, place the corn on a double sheet of foil and the potatoes on their own double sheet of foil. Bring the foil up around the corn to make an open packet. Do the same with the potatoes. In each packet pour the rest of the XVOO over each, add ½ cup of water to each packet and sprinkle each packet with the rest of the salt and pepper. Bring the foil up each packet and crimp but leave it partially open.
Place the potato packet on the grill, cover grill and cook the potatoes for about 20 minutes. After 20 minutes place the corn packet on the grill and cook for 15 minutes. After 15 minutes test the potatoes to be sure they are done by inserting a thin bladed knife into a potato and if the blade goes in and out of a potato easily when pierced they are ready. Remove the potatoes and corn from the grill and tightly close the packets to keep warm.
While the potatoes and corn are cooking, bring a large pot of water to a boil and add lobsters to boiling water one at a time. You may be able to fit only 1 or 2 lobsters in the pot. Bring the water back to a boil and cook the lobsters for 3 minutes. Remove the lobsters from the water and pull off the claws and gently remove the tails. Cut the lobster tails in half lengthwise and, with a mallet, crack the claws slightly (this will make it easier to cook the claw meat and remove from the shell). Put the lobster pieces and the lemons into a large bowl and toss with ¼ cup of the XVOO and half of the sea salt and 1 teaspoon of pepper.
Place the lobster on the grill with the flesh side of the tails facing the grill and cook for about 2 minutes to lightly char. Add the lemons flesh side down. Turn the tails flesh side up, turn the claws over and cook for about 5 or 6 minutes.
Remove all from the grill and place lobster, lemons, corn and potatoes in to a very large bowl. Pour the melted butter over everything and add the fresh chopped herbs. Toss to combine and place decoratively onto a large platter.
Roasted Moroccan Potato and Olive Salad With Roasted Lemon Vinaigrette
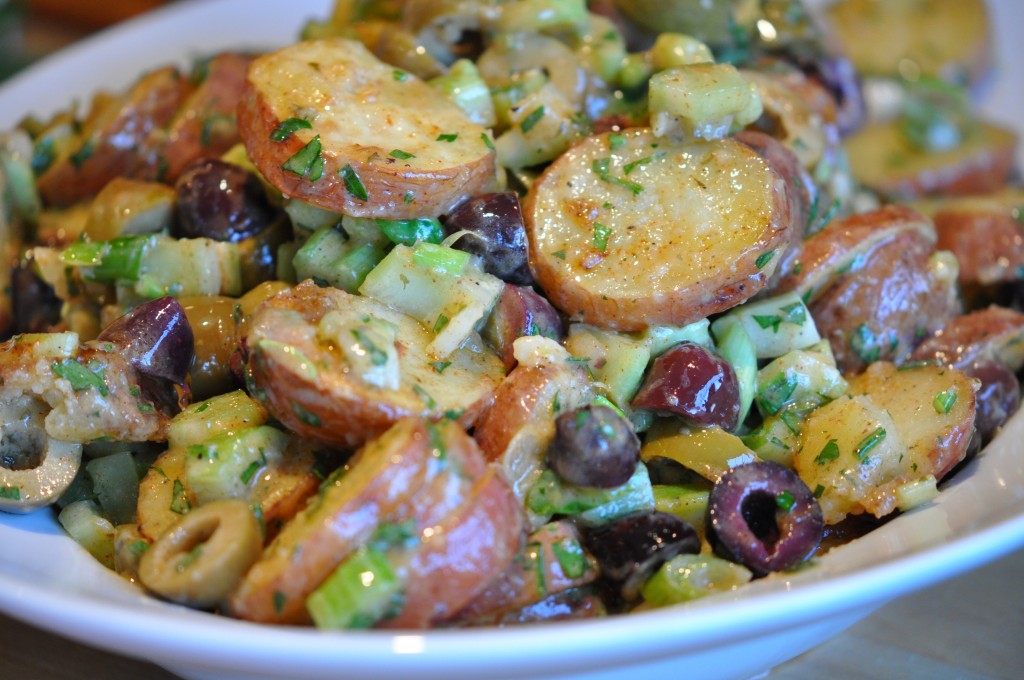
Roasted Moroccan Potato and Olive Salad
Serves 4
3 Pounds Small Red Potatoes, Sliced Into Thirds or Fourths Depending on the Size of the Potato
½ Cup XVOO
1 Teaspoon Coarse Sea Salt
½ Teaspoon Freshly Ground Black Pepper
1 Cup Roasted Lemon Vinaigrette
1 Teaspoon Ground Cumin
1 Teaspoon Paprika
Pinch of Crushed Red Pepper Flakes
1 Teaspoon Coarse Sea Salt
4 Tablespoons Chopped Flat Leaf Parsley
3 Celery Stalks, Thinly Sliced Crosswise
1 Bunch Scallions, Thinly Sliced Crosswise
2 Cups Assorted Olives Such as Kalamata, Sicilian, Greek, Pitted and Large Olives Cut in Half
Preheat oven to 425°.
In a large sauté pan, heat the XVOO until hot and add the potatoes, 1 teaspoon sea salt and ½ teaspoon pepper. Toss to coat the potatoes. Transfer to the preheated oven and roast for 20 minutes. Toss the potatoes around half way through the cooking time. Check for doneness by inserting a thin bladed knife into the center of a potato. If the knife goes in without any resistance the potatoes are cooked. If not cooked, roast for another 10 minutes and check again.
When the potatoes are cooked through, remove from the oven and set aside to cool for 10 minutes. Drain and transfer the potatoes to a bowl. Toss with the roasted lemon vinaigrette, cumin, paprika, crushed red pepper flakes, parsley, celery, scallions and olives. Add the salt only after you taste the salad. Olives tend to have enough salt in the brine and you may not need more in the salad. Serve warm or at room temperature.
Hints and Tips: It is best to mix the salad while the potatoes are still warm. The warm potatoes will absorb all of the flavors from the dressing.
Double or even triple the recipe for the dressing and store in a jar in the refrigerator to use on a tossed green salad. It will keep for a few days. If the dressing separates, just give it a good shake to bring it back together
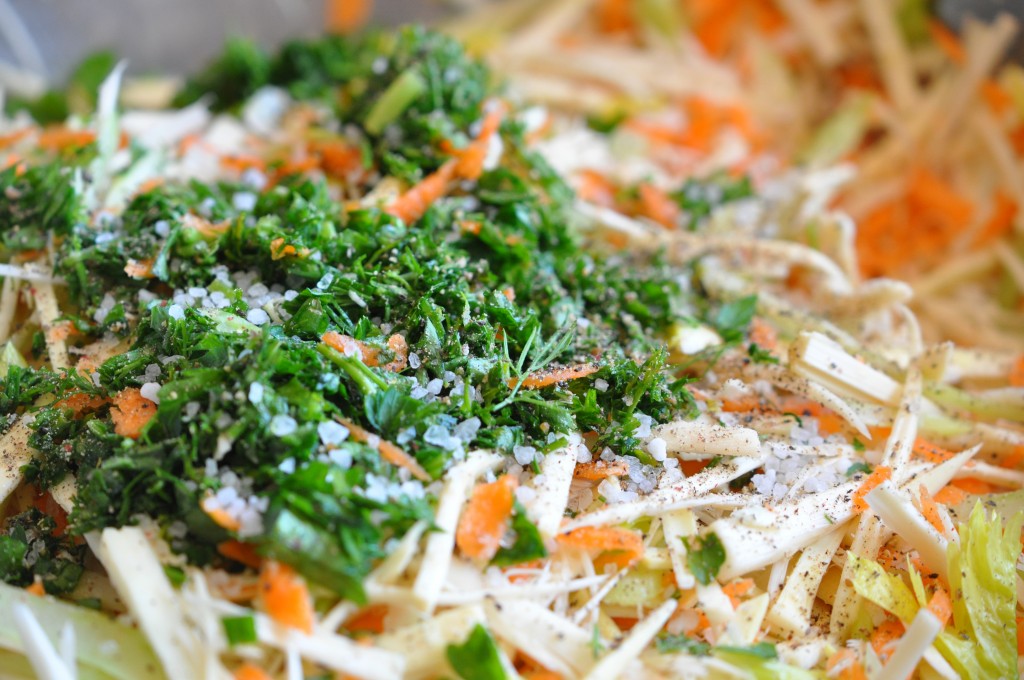
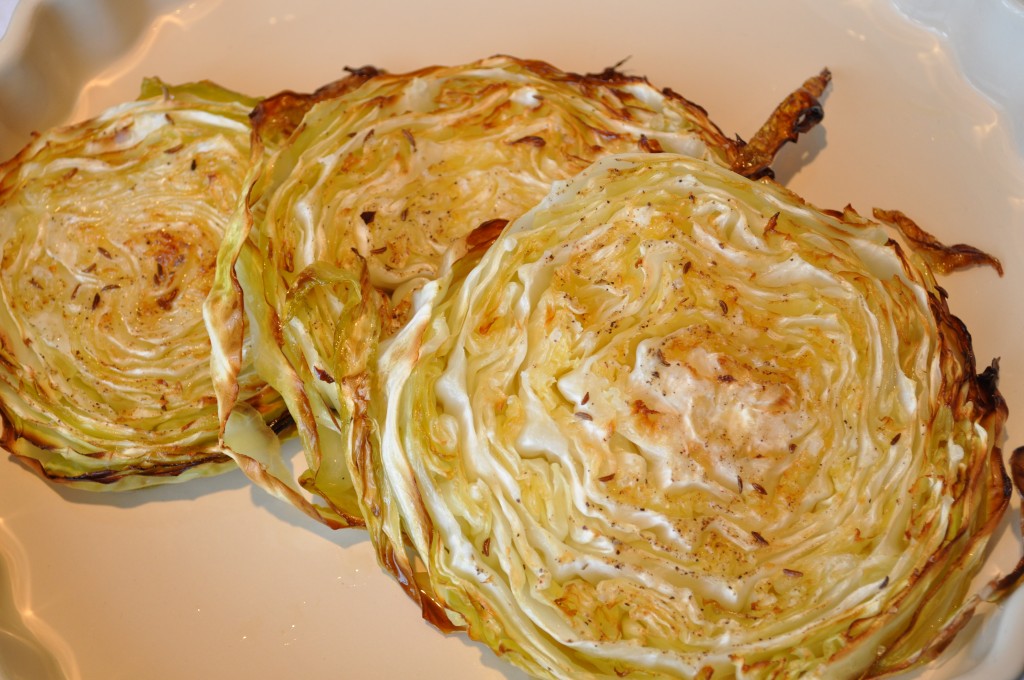
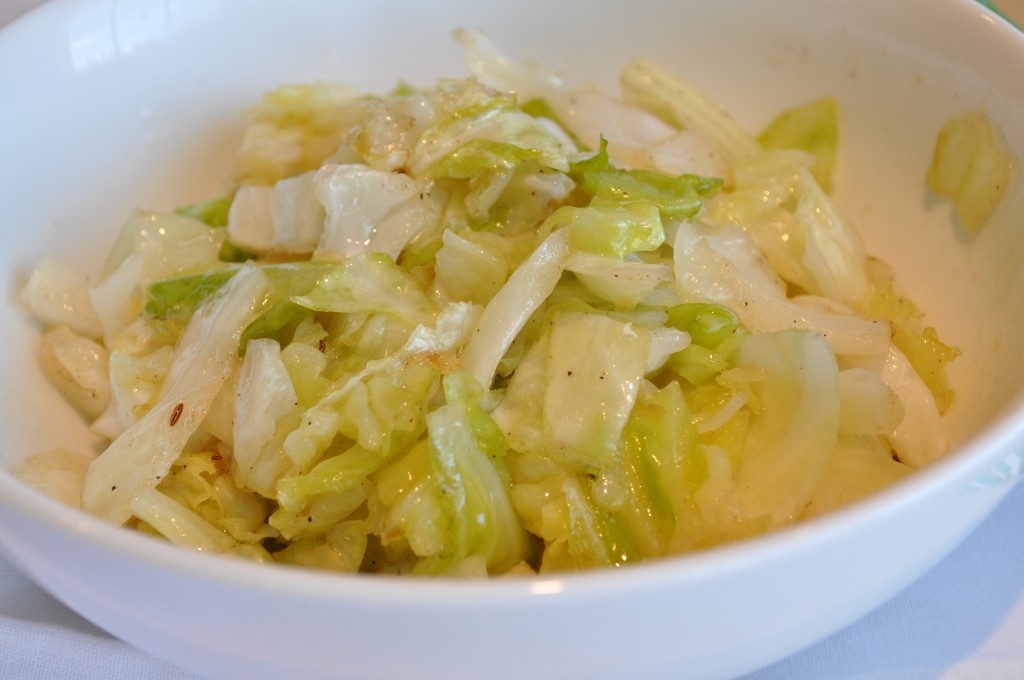
Swamp Cabbage Slaw (Fresh Hearts of Palm Slaw)
This is a new and refreshing take on cabbage slaw. It is super refreshing and doesn’t need much in the way of herbs. You want to taste the Hearts of Palm and since the flavor is subtle you don’t want to disguise it with strong flavors.
Fresh Hearts of Palm are not always easy to find, even in Florida. But you can order them on line by visiting www.localharvest.org
Serves 12 As A Side Dish
5 Pounds Fresh Hearts of Palm
4 Large Carrots, Peeled and Grate Medium on a Box Grater
4 Celery Stalks with Tops, Thinly Sliced on an Angle Crosswise
½ Medium Red Onion, Thinly Sliced Lengthwise
½ Cup Flat Leaf Parsley, Finely Chopped and Squeezed Dry
1 Cup Mayonnaise
2 Tablespoons Dijon Mustard
2 Tablespoons Granulated Sugar
¼ Cup White Balsamic Vinegar
1 Teaspoon Coarse Sea Salt
½ Teaspoon Freshly Ground Pepper
Remove the hard outer core from each heart of palm and discard. You will have about 1½ pounds of trim. The inner part of the heart of palm will be semi-soft. Cut each heart of palm in half crosswise (each should be about 6 inches before cutting). Cut each piece into thin julienne strips.
In a large bowl combine the julienned hearts of palm, shredded carrots, sliced celery, sliced onion and chopped parsley.
In a medium bowl combine the mayonnaise, mustard, sugar, vinegar, salt and pepper. Whisk the ingredients until well combined. Pour over the hearts of palm mixture and toss to incorporate. Check for seasoning.
Transfer to container with a lid and refrigerate several hours or overnight, giving the salad time to blend the flavors.
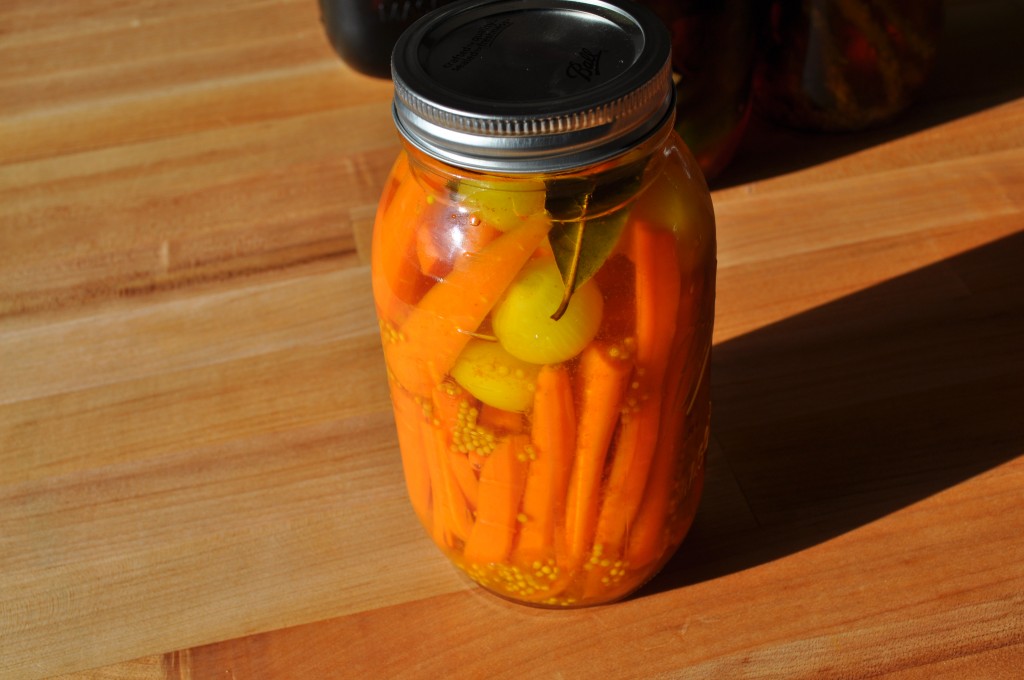
Pickled Curried Carrots
Makes 1 Quart
2 Cups Granulated Sugar
2 Cups Apple Cider Vinegar
2 Teaspoons Yellow Mustard Seed
2 Teaspoons Mild Curry Powder
1 Bay Leaf
½ Teaspoon Fine Sea Salt
10 Small Red Pearl Onions, Peeled and Left Whole
10 Medium Size Carrots, Peeled and Cut into 4” Long Sticks, 1/4” Thick
In a large non-reactive saucepan combine the sugar, vinegar, mustard seed, curry powder, bay leaf and salt. Stir to combine and bring to a boil. Lower the heat and simmer for 10 minutes until slightly syrupy. Add the onions and carrots and simmer for 3 minutes.
Place the carrots, standing straight up, and the onions in a quart sized glass jar. Carefully pour the hot liquid into the jar covering the carrots and onions. Cool to room temperature uncovered. After completely cooled, cover and refrigerate for up to one month.
Key Lime Bars with Graham Cracker-Macadamia-Coconut Crust Topped with Italian Meringue
For the Crust
1¼ Cup Graham Cracker Crumbs
½ Cup Macadamia Nuts, Finely Ground
½ Cup Sweetened Shredded Coconut, Finely Ground
¼ Cup Granulated Sugar
1/3 Cup Unsalted Butter (5 1/3 Tablespoons), Melted and Cooled
For the Key Lime Mixture
6 Large Egg Yolks, Room Temperature
2 14 Ounce Cans Sweetened Condensed Milk
1 Cup Fresh Key Lime Juice
Preheat oven to 350°.
For the Crust: Mix the cracker crumbs, macadamia nuts, coconut, sugar, and melted butter together. Blend well and evenly press into the bottom and sides of an 11” tart pan with removable bottom. Set aside.
For the Key Lime Mixture: Mix the egg yolks with the sweetened milk and blend well. Add the lime juice in a stream and beat into the egg mixture. Combine well. Poor into prepared tart pan. Bake for 20 – 25 minutes. Remove from oven and cool on a wire rack. Refrigerate overnight or at least 4 hours.
Remove the Tart from the pan and cut into 2″ squares. Top with Italian Meringue and carefully burn the meringue with a small kitchen blow torch or place 6 inches under a broiler and carefully watch until the tops are a light golden color.
Happy 4th of July. Enjoy the Fireworks!!!

camille@camillecooksforyou.com
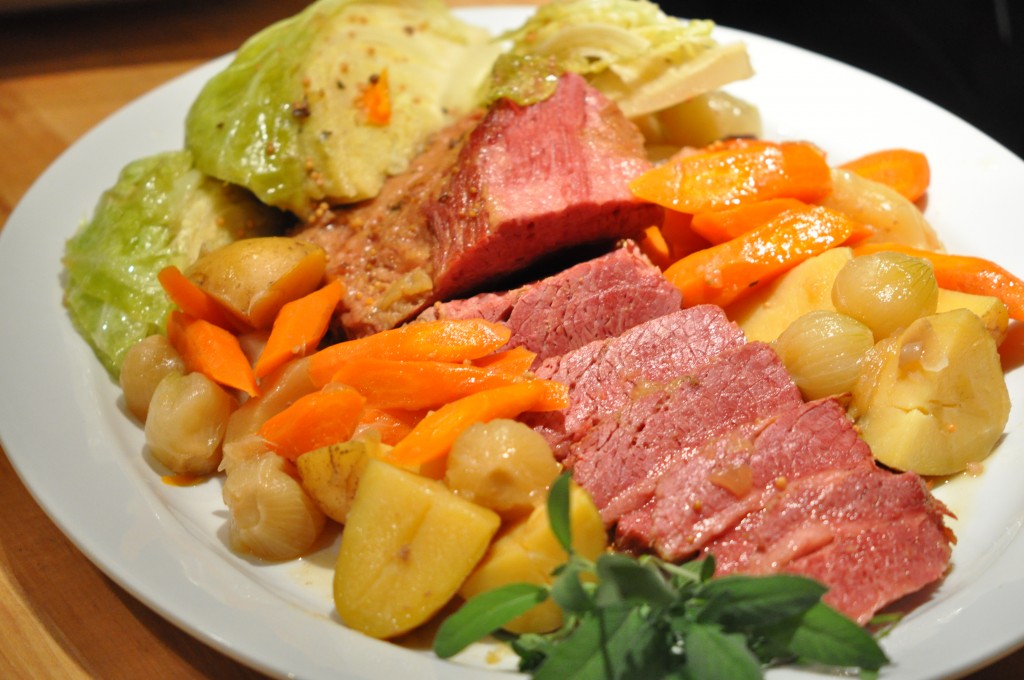
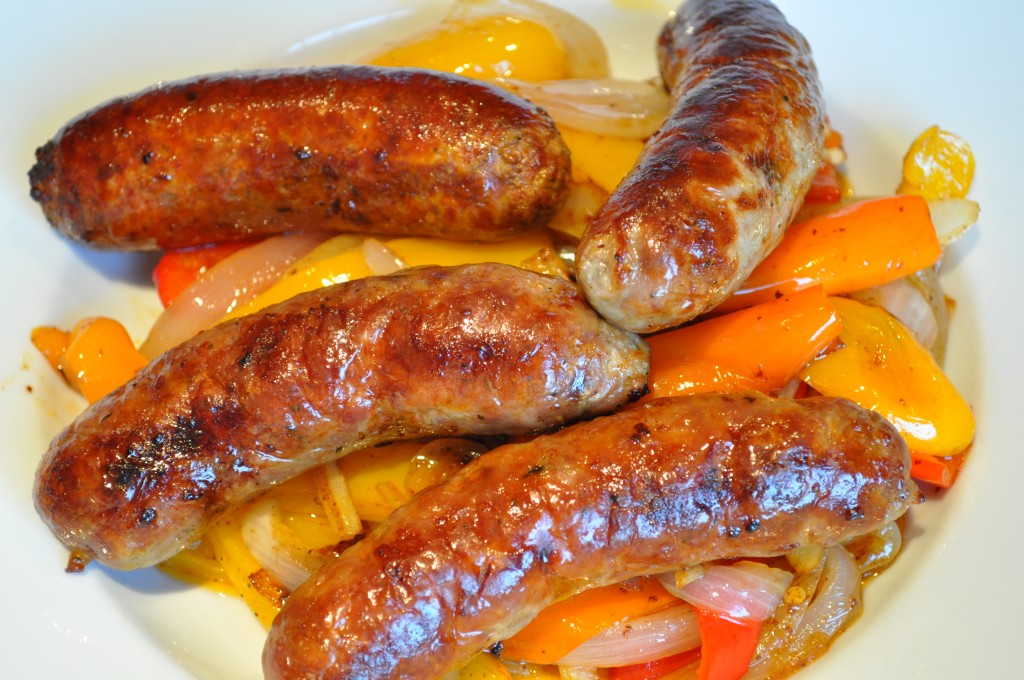 What I loved about these sausages of pork goodness were several things besides the taste: The size is not too large nor too small; about 4 ounces before cooking. The seasoning is right on. Even though each sausage had hot pepper of one sort or another, none were lip burning hot. They had just enough kick to let you know there was hot pepper in the mix but not too much that it disguised the flavor of the pork or the other seasonings in each distinctly seasoned sausage. I also liked the fact that I could taste the layers of flavor in each.
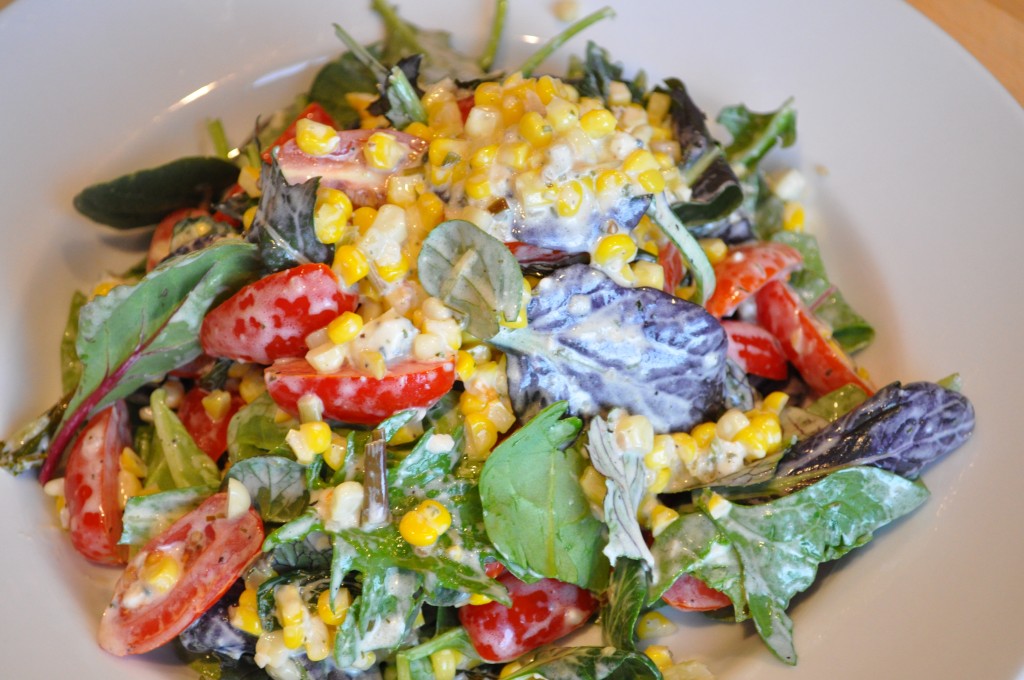
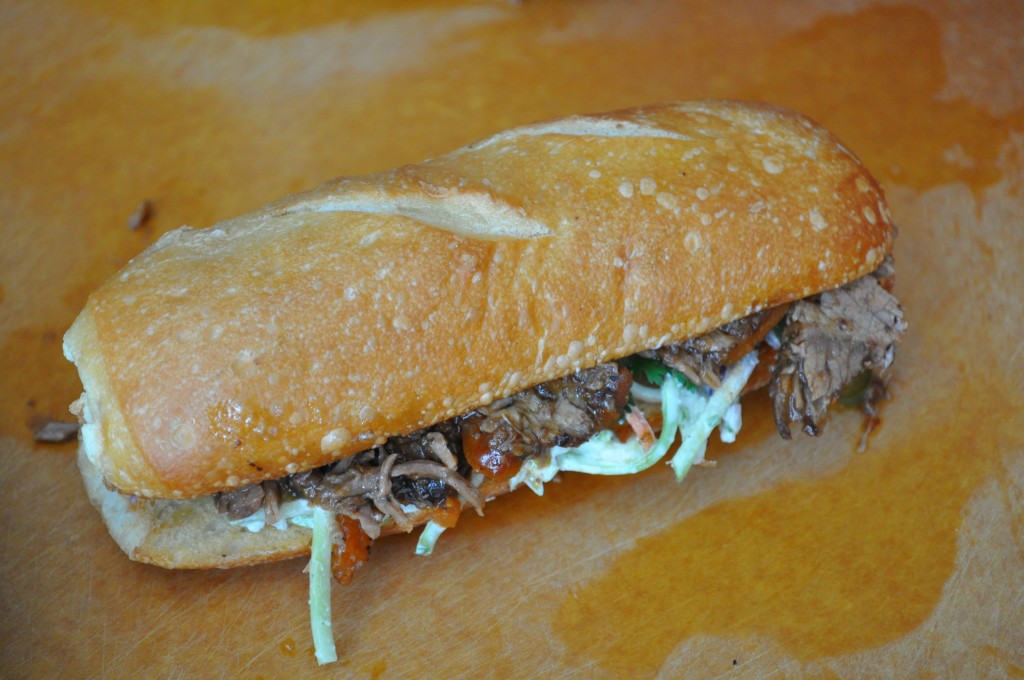
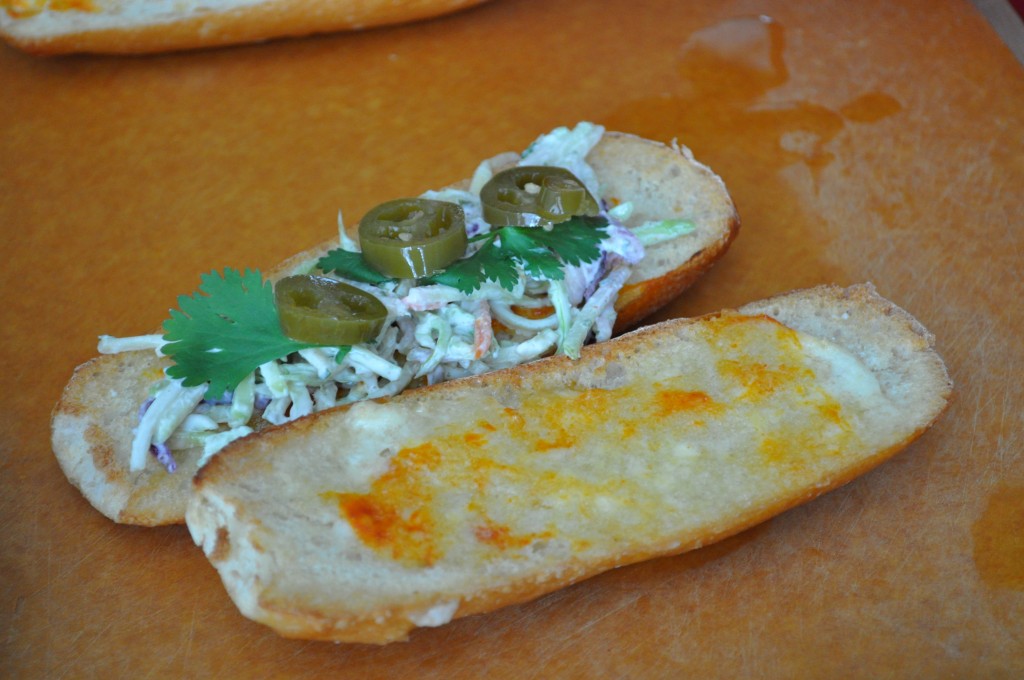
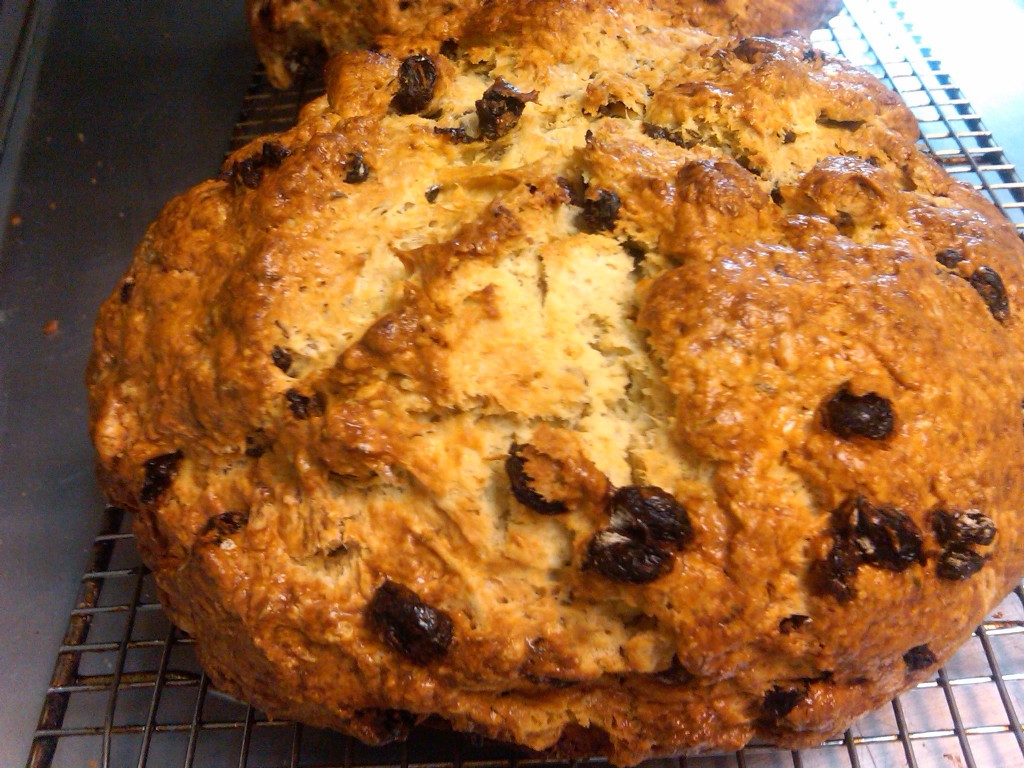
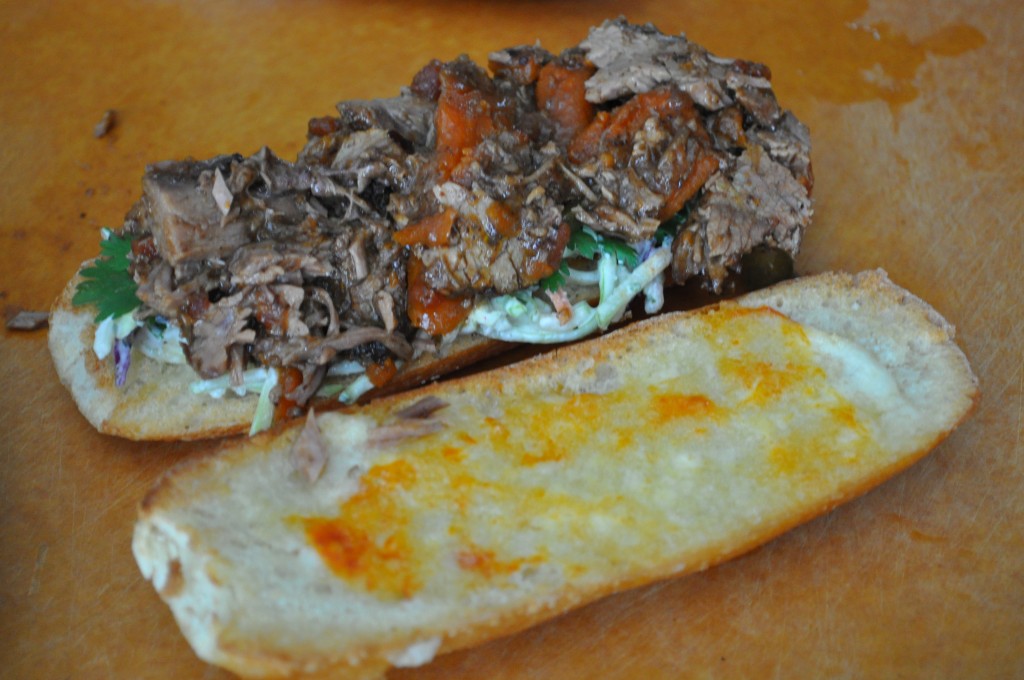 By the picture you can see the amount I put on the sandwich. And there you have it. This is the closest my taste memory came up with but with a little creativity you can add your own favorite Asian flavors and crunch. Enjoy!!
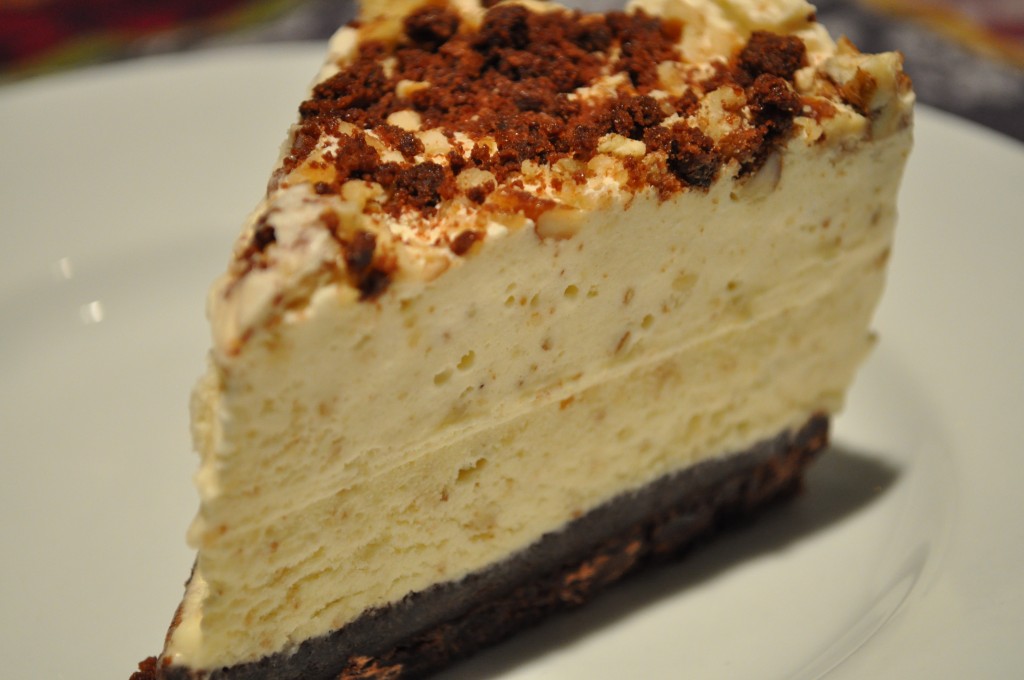
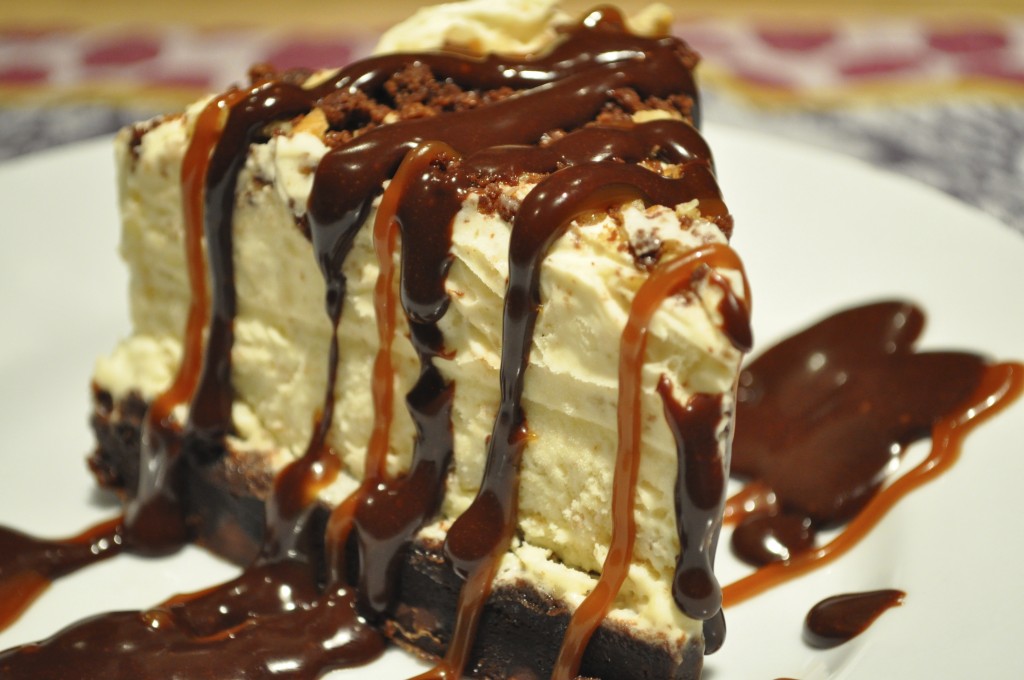

 In the early eighties I worked at a restaurant in Deerfield Beach, Florida, that was the most upscale dining experience you could get at the time. The Austrian Pastry Chef and I became friends and he was extremely generous in sharing his knowledge with me. He was a lot older than most of the people working at the restaurant and he retired just about a year after I started. I wisely took that year to listen to everything he told me and pay attention to everything he did. He not only made the pastry but also gave the chef of the restaurant his recipes for many of the items served. He taught me more than any of the other people I ever worked with: Knowledge I could not get anywhere else.