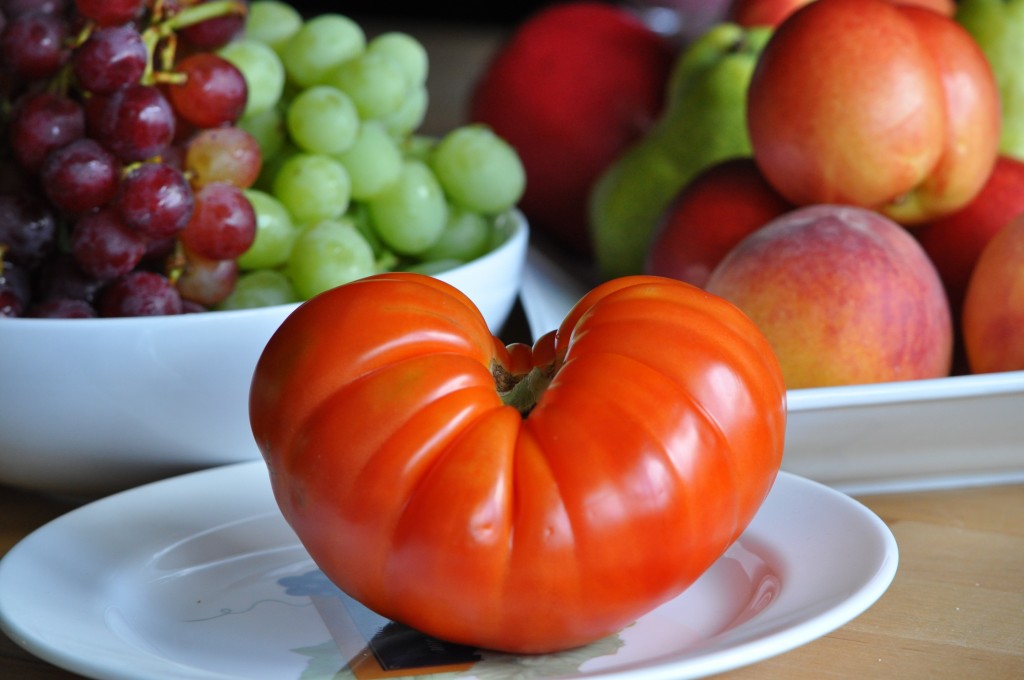
 How beautiful is the picture of this tomato? This season the tomatoes are more delicious, more juicy, more colorful, more of everything then they have been for the last few years. At least in Florida. Being in a state that has the best growing weather all year round, we seem to be lacking for great produce. But this year the locally grown tomatoes are absolutely wonderful.
I think it’s time for a little history lesson concerning the Tomato. If you don’t really care about the history, skip this next part in red.
(Below the RED section are two recipes featuring the Glorious Tomato. If you want any recipes of the pictures here, let me know and I will gladly send them your way.)
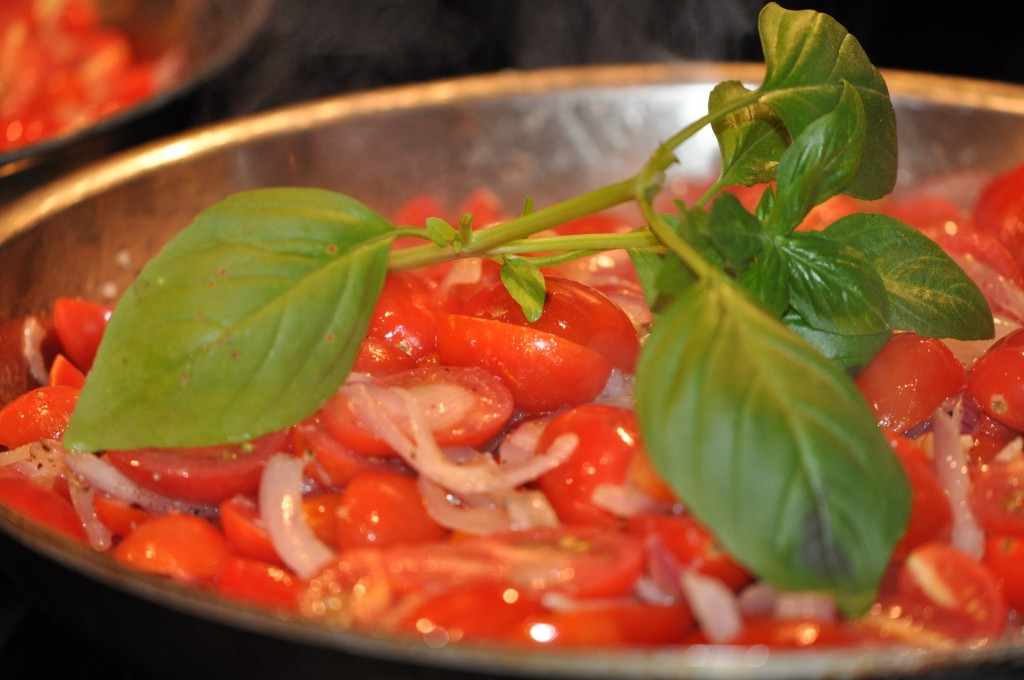
Cherry Tomato Compote
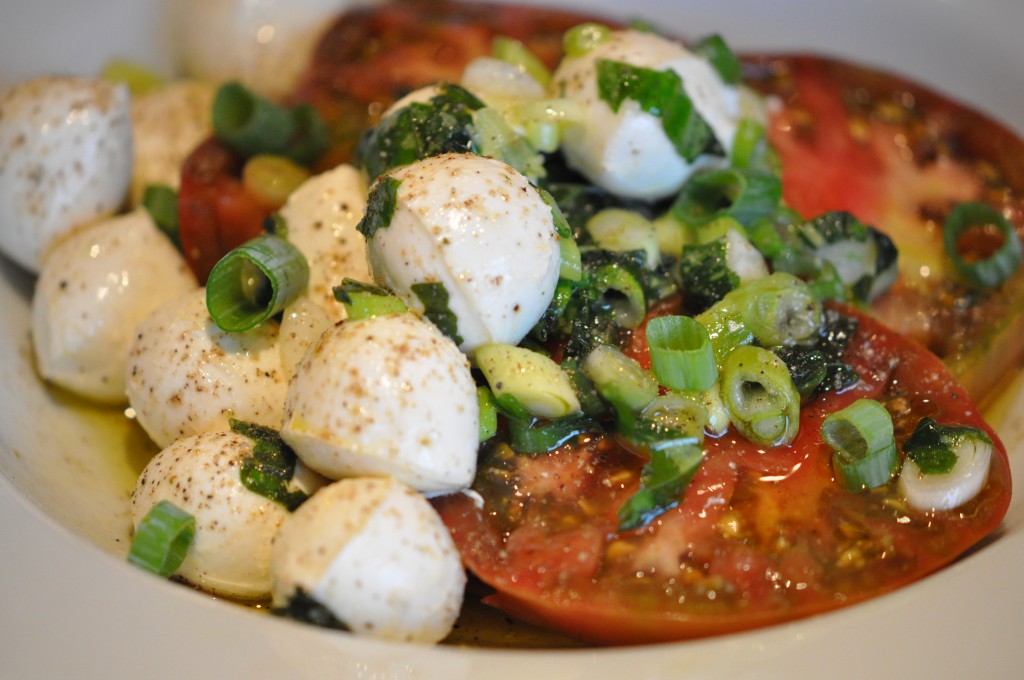
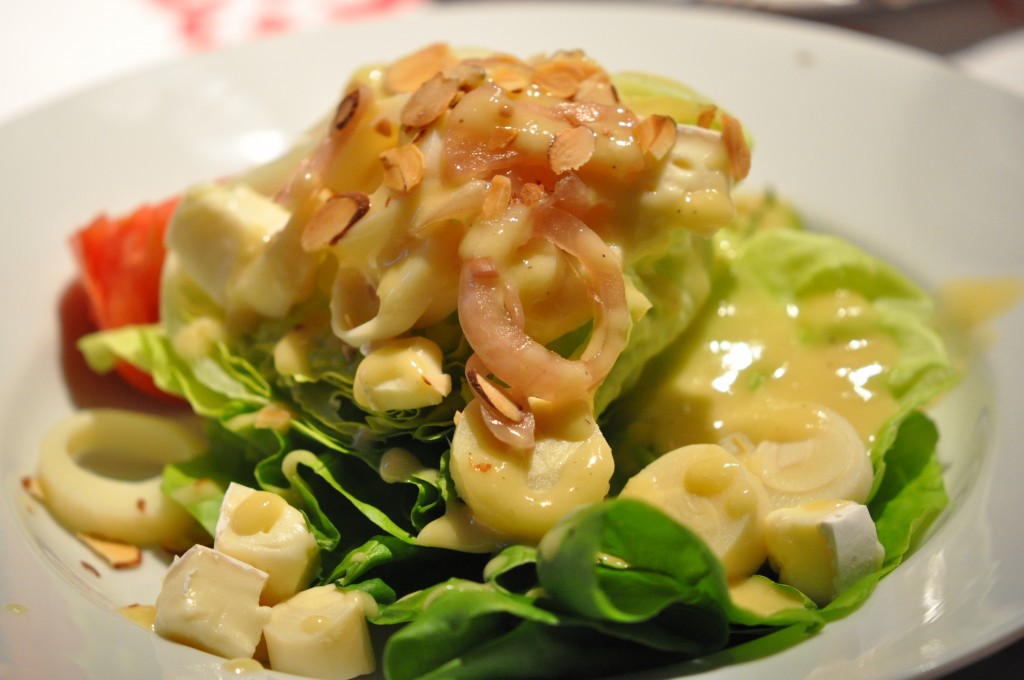
Mozzarella and Tomate
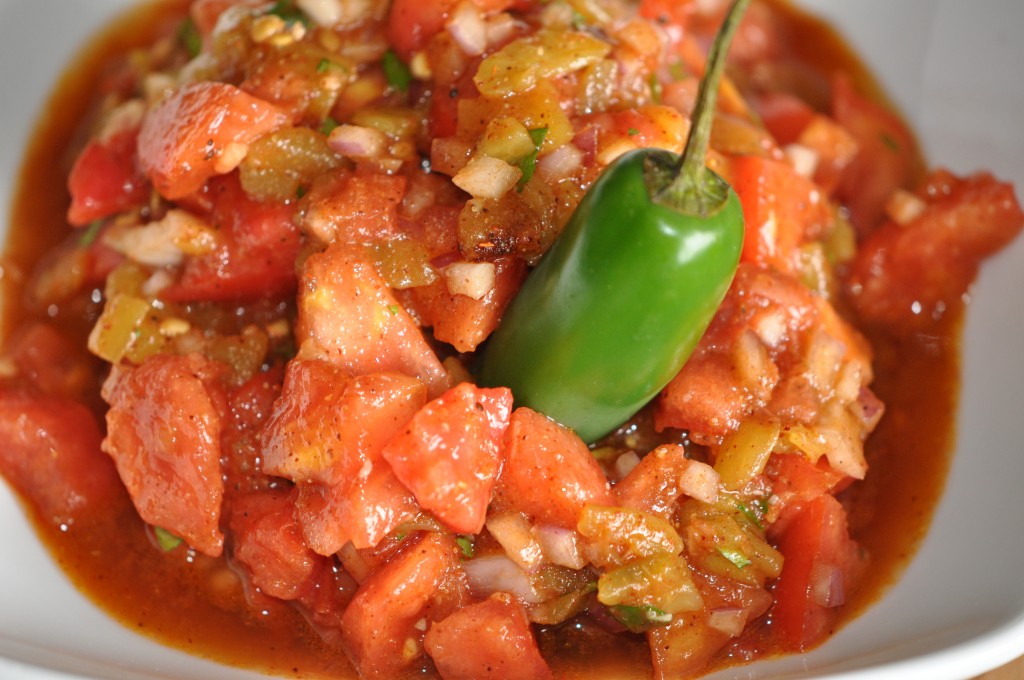
Tomato Salsa
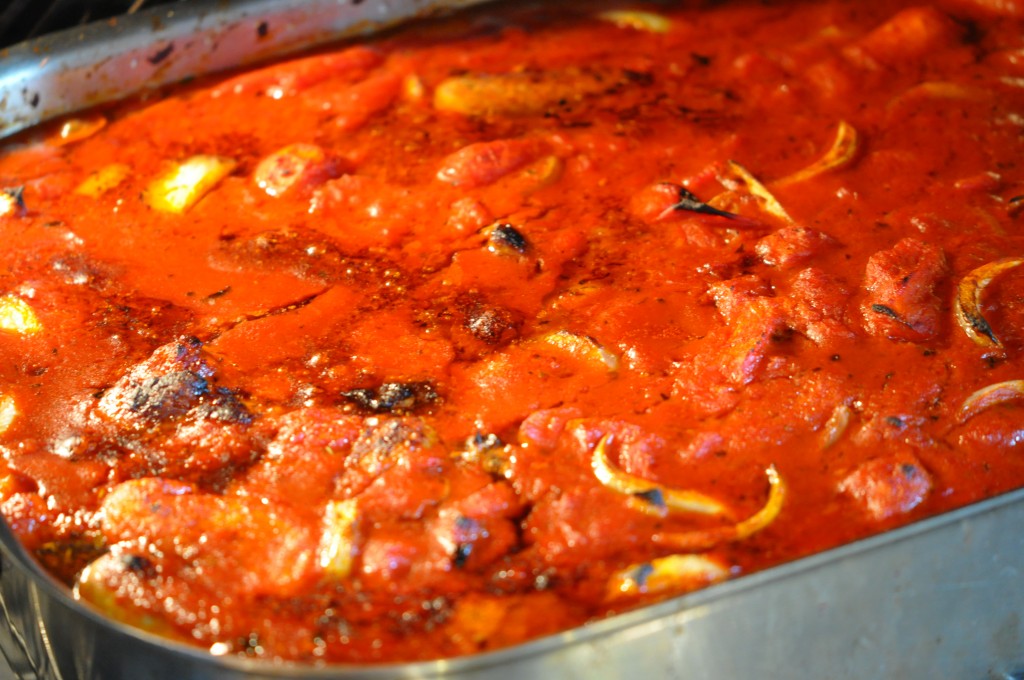
Roasted Marinara
The Tomato According to Wikipedia
Aztecs and other peoples in Mesoamerica used the fruit in their cooking. The exact date of domestication is unknown: by 500 BC, it was already being cultivated in southern Mexico and probably other areas. The Pueblo people are thought to have believed that those who witnessed the ingestion of tomato seeds were blessed with powers of divination. The large, lumpy tomato, a mutation from a smoother, smaller fruit, originated in Mesoamerica, and may be the direct ancestor of some modern cultivated tomatoes.
Spanish Distribution: Spanish conquistador Hernán Cortés may have been the first to transfer the small yellow tomato to Europe after he captured the Aztec city of Tenochtítlan, now Mexico City, in 1521, although Christopher Columbus, a Genoese working for the Spanish monarchy, may have taken them back as early as 1493. The earliest discussion of the tomato in European literature appeared in an herbal written in 1544 by Pietro Andrea Mattioli, an Italian physician and botanist, who suggested that a new type of eggplant had been brought to Italy that was blood red or golden color when mature and could be divided into segments and eaten like an eggplant—that is, cooked and seasoned with salt, black pepper, and oil. However it wasn’t until ten years later that tomatoes were named in print by Mattioli as pomi d’oro, or “golden apple”
After the Spanish colonization of the Americas, the Spanish distributed the tomato throughout their colonies in the Caribbean. They also took it to the Philippines, from where it spread to southeast Asia and then the entire Asian continent. The Spanish also brought the tomato to Europe. It grew easily in Mediterranean climates, and cultivation began in the 1540s. It was probably eaten shortly after it was introduced, and was certainly being used as food by the early 17th century in Spain. The earliest discovered cookbook with tomato recipes was published in Naples in 1692, though the author had apparently obtained these recipes from Spanish sources. In certain areas of Italy, such as Florence, however, the fruit was used solely as a tabletop decoration before it was incorporated into the local cuisine in the late 17th or early 18th century.
Italy: The recorded history of tomatoes in Italy dates back to October 31, 1548 when the house steward of Cosimo de’ Medici, the grand duke of Tuscany, wrote to the Medici private secretary informing him that the basket of tomatoes sent from the grand duke’s Florentine estate at Torre del Gallo “had arrived safely.” Tomatoes were grown mainly as ornamentals early on after their arrival in Italy. For example, the Florentine aristocrat Giovanvettorio Soderini wrote how they “were to be sought only for their beauty” and were grown only in gardens or flower beds. The tomato’s ability to mutate and create new and different varieties helped contribute to its success and spread throughout Italy. However, even in areas where the climate supported growing tomatoes, their proximity of growing to the ground suggested low status. They were not adopted as a staple of the peasant population because they were not as filling as other fruits already available. Additionally, both toxic and inedible varieties discouraged many people from attempting to consume or prepare them.
Britain: Tomatoes were not grown in England until the 1590s. One of the earliest cultivators was John Gerard, a barber-surgeon. Gerard’s “Herbal” was published in 1597, and largely plagiarized from continental sources, is also one of the earliest discussions of the tomato in England. Gerard knew the tomato was eaten in Spain and Italy. Nonetheless, he believed it was poisonous (in fact, the plant and raw fruit do have low levels of tomatine, but are not generally dangerous). Gerard’s views were influential, and the tomato was considered unfit for eating (though not necessarily poisonous) for many years in Britain and its North American colonies. By the mid-18th century, tomatoes were widely eaten in Britain, and before the end of that century, the Encyclopædia Britannica stated the tomato was “in daily use” in soups, broths, and as a garnish.
Asia: The tomato was introduced to cultivation in the Middle East/Asia by John Barker, British consul in Aleppo, circa 1799 to 1825. Nineteenth century descriptions of its consumption are uniformly as an ingredient in a cooked dish. In 1881, it is described as only eaten in the region “within the last forty years”
The tomato entered Iran through two separate routes; one was through Turkey and Armenia, and the other was through the Qatar royal family’s frequent travels to France.
North America: The earliest reference to tomatoes being grown in British North America is from 1710, when herbalist William Salmon reported seeing them in what is today South Carolina. They may have been introduced from the Caribbean. By the mid-18th century, they were cultivated on some Carolina plantations, and probably in other parts of the Southeast as well. Possibly, some people continued to think tomatoes were poisonous at this time; and in general, they were grown more as ornamental plants than as food. Thomas Jefferson, who ate tomatoes in Paris, sent some seeds back to America.
Alexander W. Livingston was the first person to succeed in upgrading the wild tomato, developing different breeds and stabilizing the plants. In the 1937 yearbook of the Federal Department of Agriculture, it was declared that “half of the major varieties were a result of the abilities of Livingston to evaluate and perpetuate superior material in the tomato”. Livingston’s first breed of tomato, the Paragon, was introduced in 1870. In 1875, he introduced the Acme, which was said to be involved in the parentage of most of the tomatoes introduced by him and his competitors for the next twenty-five years.
When Alexander W. Livingston had begun his attempts to develop the tomato as a commercial crop, his aim had been to grow tomatoes smooth in contour, uniform in size and having better flavor. One year, after many attempts, he passed through his fields, picking out particular tomato plants having distinct characteristics and heavy foliage. He saved the seeds carefully. The following spring he set two rows across his family garden located just below the hill and milk house. To his happy surprise, each plant bore perfect tomatoes like the parent vine. After five years, the fruit became fleshier and larger. In 1870, Alexander introduced the Paragon and tomato culture began at once to be a great enterprise of the county. Today, the crop is grown in every state in the Union. He eventually developed over seventeen different varieties of the tomato plant.[10]
Because of the long growing season needed for this heat-loving crop, several states in the US Sun Belt became major tomato-producers, particularly Florida and California. In California, tomatoes are grown under irrigation for both the fresh fruit market and for canning and processing. The University of California, Davis (UC Davis) became a major center for research on the tomato. The C.M. Rick Tomato Genetics Resource Center at UC Davis is a gene bank of wild relatives, monogenic mutants and miscellaneous genetic stocks of tomato. The Center is named for the late Dr. Charles M. Rick, a pioneer in tomato genetics research. Research on processing tomatoes is also conducted by the California Tomato Research Institute in Escalon, California.
In California, growers have used a method of cultivation called dry farming, especially with Early Girl tomatoes. This technique encourages the plant to send roots deep to find existing moisture in soil that retains moisture, such as clayey soil. So Says Wikipedia
I have many childhood memories (some fond and others not so fond) of this luscious fruit. Yes, it is a fruit and we should all know by now that it isn’t a vegetable.
If you don’t already know, my Mother was a wonderful cook. And when it came to tomatoes she could do anything with them to make us love them even more than we thought possible. Of course, her number one way to prepare tomatoes was in her Sunday Gravy (Marinara for all you “Americains”). During summer-time Mom would drag my butt out to the farm just off River Road (some farm as it was on the edge of the city) and we would spend hours and hours picking tomatoes so she could CAN them to be at the ready to make her gravy all winter long. The picking of the tomatoes is one of those “Not So Fond” memories as it was always hot and dirty and so unnatural for me. Being a total city girl I would have rather taken the bus downtown than go to the “Farm” and pick tomatoes. The “Fond” memory of the tomato picking was canning the tomatoes with my Mother and Aunt JiJie in our second kitchen in the basement, being able to go to the cellar in the winter to get the incredibly gloriously beautiful jars of tomatoes and, finally, making the gravy and eating her wonderful Sunday Dinner. (How can you tell a home in Chicago is owned by an Italian? There is a full kitchen in the basement.)
I can honestly say I don’t share the tomato canning experience gene with my Mother since I usually buy my tomatoes in a can. But I buy only cans of tomatoes that are grown in the San Marzono region of Italy. These canned tomatoes are very much like my Mother’s finished canned product. Enough about canning.
My favorite way to eat a tomato is, and always has been, in the simplest way. A sprinkle of salt and pepper, a drizzle of XVOO and leaf or two of torn fresh basil is the best way for me enjoy a tomato.
Enough talk. It’s time to cook and eat!! Mangia!!
Angel Hair Pasta with Fresh Chopped Tomatoes and Basil
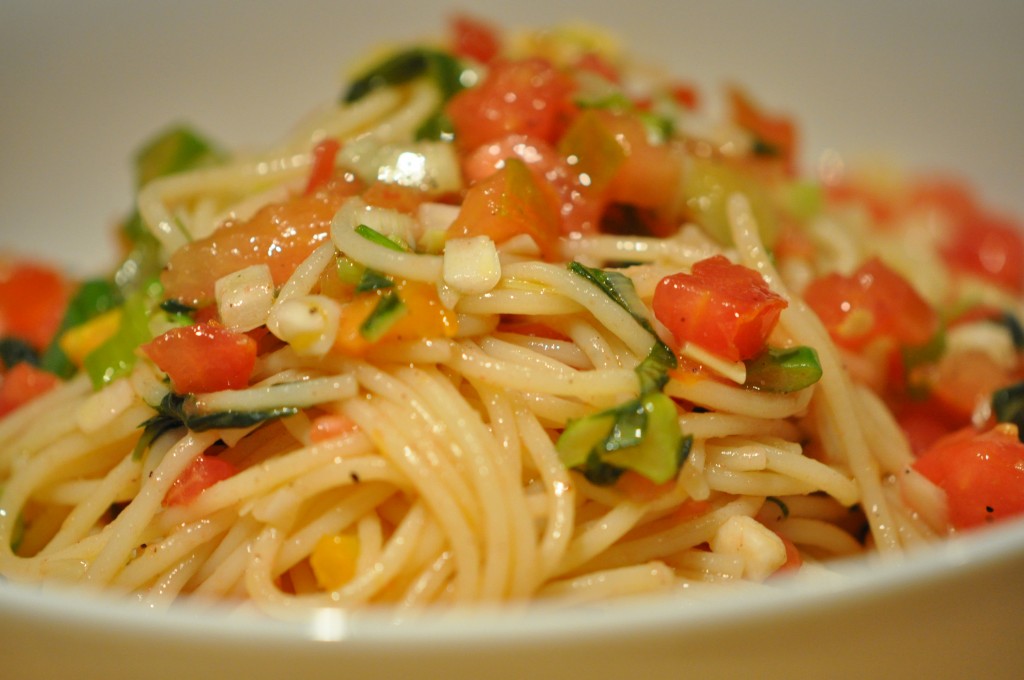
Angel Hair Pasta with Tomatoes and Basil
This is my favorite hot weather pasta recipe since the only thing cooked is the pasta. By tossing the hot pasta into the marinated uncooked tomatoes and basil you bring out the fresh flavors of everything. It’s a pasta dish you can serve immediately as a main course or make it ahead and refrigerate it and serve the pasta as a side with a sandwich.
Serves 4 As an Entrée
4 Cups Ripe Red Tomatoes, Seeds Removed and Diced into ¼” Pieces (About 3 Large Tomatoes)
1 Bunch Scallions, White Part and 1” of the Green, Sliced Thinly On An Angle (About 6 Scallions)
4 Roasted Garlic Cloves, Smashed and Chopped
1 Cup XVOO
3 Tablespoons Good Quality Red Wine Vinegar
1 Teaspoon Coarse Sea Salt
½ Teaspoon Freshly Ground Black Pepper
¼ Teaspoon Crushed Red Pepper Flakes
½ Cup Fresh Basil, Julienned or Torn into Pieces
1 Pound Dried Angel Hair Pasta
In a large bowl combine all of the ingredients except the pasta and set aside to marinate for 30 minutes. Do not refrigerate.
Bring a large pot of salted water to a boil and add the pasta. Cook until al dente according to the package directions. Angel hair takes only 2 or 3 minutes to cook once the water comes back to a boil.
Drain the pasta and toss into the tomato basil mixture while still hot. Combine the pasta and tomato basil mixture well. Taste for seasoning and adjust if needed. Serve immediately as an entrée or refrigerate and serve as a side dish to a sandwich or a grilled and chilled fish such as salmon.
Hints and Tips: Never, Ever, EVER rinse the pasta or add oil to the water. Rinsing or adding oil to the water prohibits the sauce from sticking to the pasta and we know we don’t want that to happen.
Tomato-Asparagus Tart with Pancetta and Talagio Cheese
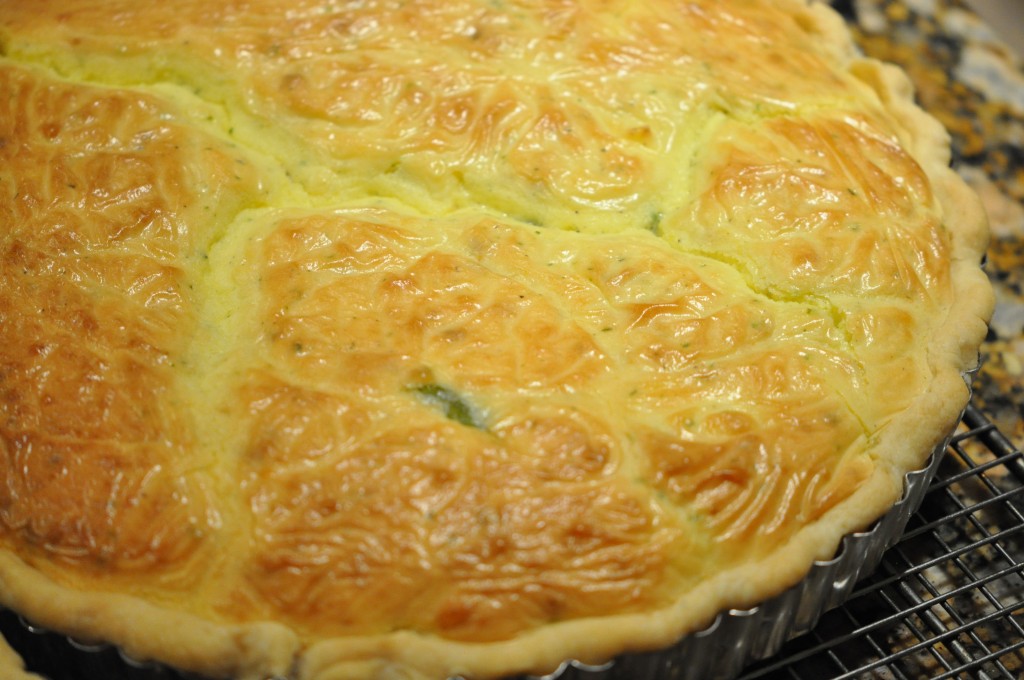
Tomato-Asparagus Tart with
Pancetta and Talagio Cheese
This tart is perfect as a starter, luncheon or light supper. For lunch or supper pair it with a great salad of mixed field greens tossed with a light vinaigrette such as a Spanish sherry or Italian vinaigrette made with balsamic vinegar.
Makes One 11” Tart
1/2 Recipe Pate Brisee, Rolled Out to Fit an 11” Tart Pan with Removable Bottom and Blind Baked
1 Tablespoon XVOO
6 Ounces Pancetta, Thinly Sliced and Cut into Pieces
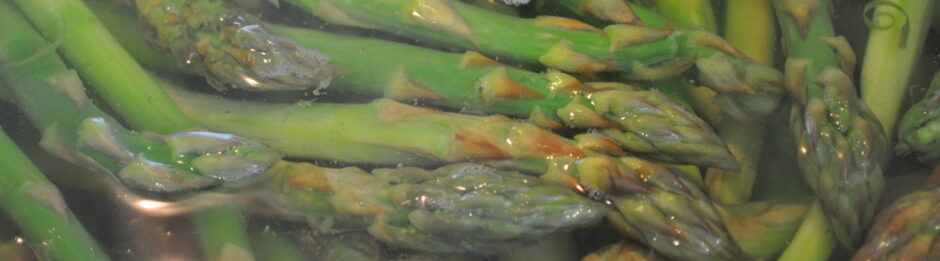
¾ Pound Asparagus, Trimmed and Thinly Sliced Leaving the Tips Intact
2 Medium Tomatoes, Seeds and Juice Removed, Sliced ½” Thick
½ Pound Talagio Cheese, Room Temperature
½ Pound Cream Cheese, Room Temperature
½ Cup Crème Fraiche
3 Large Eggs
Preheat oven to 350°.
On a lightly floured surface roll out the paté brisee to no more than ¼” thick. Transfer to an 11″ tart pan with removable bottom. Crimp the edges, prick the crust as in the blind baking instructions and refrigerate for 1 hour. After 1 hour, remove from the refrigerator and blind bake the crust to the partially cooked stage. Cool completely and set aside.
In a medium sauté pan, heat 1 tablespoon XVOO and add pancetta. Cook until crispy, stirring often. Add the asparagus and cook for 2 minutes. Remove from heat and drain the pancetta and asparagus on a paper towel. Set aside.
Combine Talagio Cheese and Cream Cheese in the bowl of a mixer fitted with the paddle attachment and beat until thoroughly mixed. Beat in the Crème Fraiche. Add the eggs, one at a time, beating thoroughly after each addition.
Place the sliced tomatoes on top of the baked pastry crust and spoon the pancetta-asparagus mixture evenly on top of the tomatoes.
Pour cheese mixture into the tart pan reaching up to 1/2″ from the top of the crust. Smooth out the top with a spatula. Be sure the filling has gone in between and around the tomatoes, asparagus and pancetta. Place the tart pan on a cookie sheet (preferably a pizza pan with holes) and bake for 20 to 25 minutes; until the mixture is set, starts to color a little and puffs up slightly.
Remove from the oven and allow the tart to cool completely. After the tart is cooled, remove the side of the pan. At this point you can serve it at room temperature or slightly warm.
camille@camillecooksforyou.com


 Makes 1 Loaf