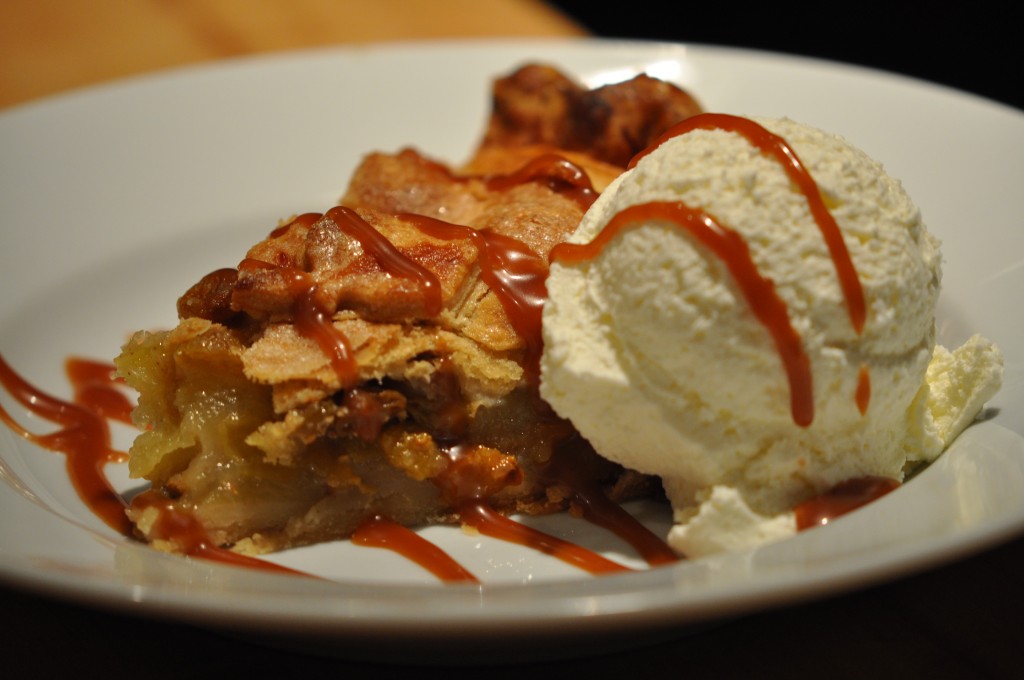
Apple Pie With Vanilla Gelato And Caramel Sauce
With the change of season and the weather a bit cooler (even in Florida) it means more indoor cooking. So turn the ovens on and let’s get started.
I have been spending a great deal of time in the kitchen cooking up some of the things that I would never do in the summer. For instance I made a great Chicken Pot Pie recently. Never would I think about doing that in the summer. The summer in Florida is way too hot to eat hearty food. I also made an Apple Pie. Something I never do for just the two of us but we had our cousins in for the weekend and thought what better way to their hearts than with a great Apple Pie.
Since both of these dishes had Pastry Crust (also known as Pie Crust, Pate Brisee and Pate Sucre) I realized I had a theme going.
Pie Crust may seem like a daunting task but once you get it, no longer is it a task but a pure pleasure of accomplishment. At least that’s how it is for me. It took me years to make the perfect crust (I’ve been told it is wonderful) and because I have made so many pies in my career, I feel it is time for me to share my expertise with you and make it an easy exercise. I am going to guide you through the preparation and I promise, you will be on your way to making the flakiest, most tender and deliciously delicious crust.
As I have said in the past, to make the preparation of any dish easier you must have all of your ingredients (Mes En Plas) ready to go. In this case you will need to have ready Unbleached All-Purpose Flour, Salt, Sugar (for sweet pastry) Cold Unsalted Butter, Cold Crisco and Ice Water. That’s it.
Here is the recipe for enough pastry for a two crust pie.
Pate Sucre (Pastry Crust, Pie Crust)
Pate Sucre is French for Sweet Pastry Crust, Pate Brisee is French for Unsweetened Pastry Crust. You can use this sweet pastry crust for a savory dish such as Pot Pie. Just don’t add the sugar. The rest stays the same. This recipe will make enough pastry for a two crust pie.
3½ Cups All Purpose Flour
1/2 Cup Granulated Sugar
1 Teaspoon Fine Sea Salt
8 Ounces Cold Unsalted Butter (2 Sticks) Cut Into 16 Pieces
½ Scant Cup Cold Vegetable Shortening Such as Crisco
5 – 6 Tablespoons Ice Water
My personal preference for making pastry crust is to use my fingertips. To make it my way, place the flour, sugar and salt in a large bowl and whisk to combine. Add the cut up butter and blend into the flour mixture using your fingertips. Work quickly so butter does not get too soft. Blend until the mixture resembles coarse meal or small peas. Add the vegetable shortening in the same manner. When all is mixed take a small amount and press it together in the palm of your hand. If it stays together it is time to add the water. Start with 5 tablespoons of the ice water and pour over the mixture. Gather the mixture together into a ball. If it is too crumbly and won’t stay together add a little more water. You want the mixture to come together nicely. Not dry or wet. Turn the dough out onto a lightly floured surface and form it into two balls. Flatten into disks and wrap the disks separately in plastic. Refrigerate for 1 hour.
If this all seems to daunting, use your food processor following this next set of directions: Place the flour, sugar, and salt in the bowl of a food processor fitted with the steel blade. Pulse a few times to combine. Add the butter and shortening to the flour. Pulse the mixture until the mixture forms crumbs the size of peas. With the motor running, add the ice water all at once through the feed tube. Keep hitting the pulse button to combine the mixture and the dough comes together. Turn the dough out onto a lightly floured surface and form it into two balls. Flatten into disks and wrap the disks separately in plastic. Refrigerate for 1 hour.
Hints and Tips: Letting the pastry rest for 1 hour in the refrigerator gives the glutens enough time to rest. This resting period makes for a much more tender crust and it will not shrink, either when rolling it out or when it cooks. I like to take it out of the refrigerator about 10 minutes before rolling so it isn’t too cold. When too cold it will crack when you roll it and cracking makes it almost impossible to handle.
Now that you have this great recipe let’s make an Old-Fashioned Apple Pie. Who doesn’t like Pie?!!!!
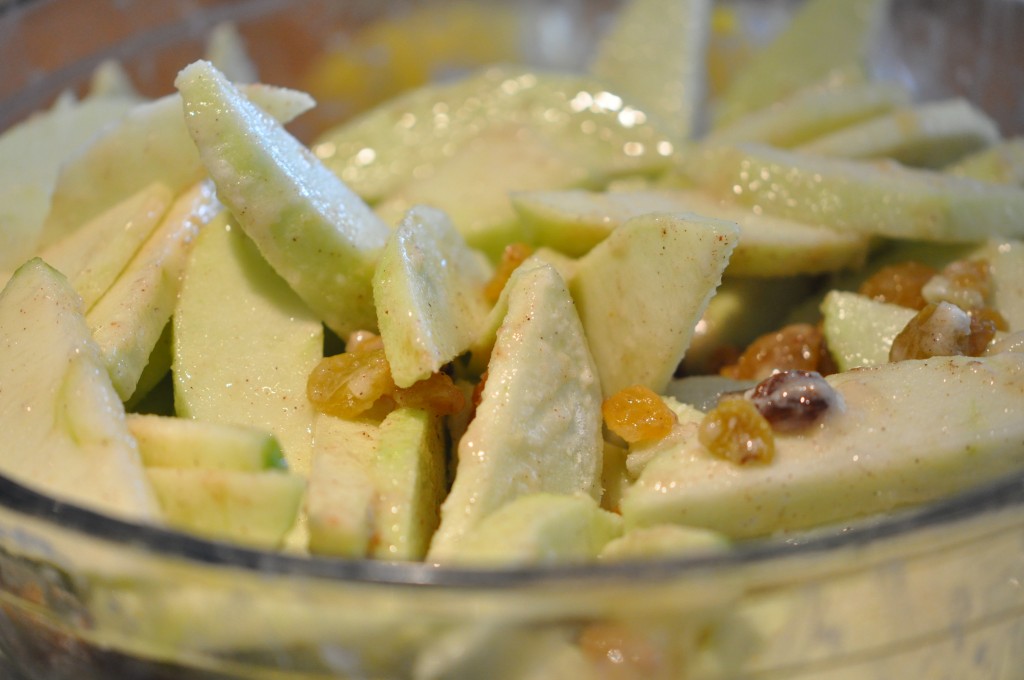
Apples And Raisins
Old-Fashioned Apple Pie
I like to add golden raisins and pecans to my Apple Pie but if you don’t want to just leave them out. The best type of dish to use, to insure a cooked bottom crust, is a glass or ceramic pie dish. Tin pie pans just don’t give you that cooked and crisp bottom crust. Placing the pie dish on a pan with holes also helps because the air can circulate around the pie. Why place the pie on a pan when cooking is what you might ask. The reason is to catch any juices that will escape from the pie and to keep the juices off the bottom of your oven. Lining the pan with parchment won’t allow the juices to go through the pan if it has holes and the pie dish won’t stick to the pan. All of these suggestions are tried and true. I have made thousands of pies over my career and these suggestions will help you to make pie baking an easy and enjoyable experience.
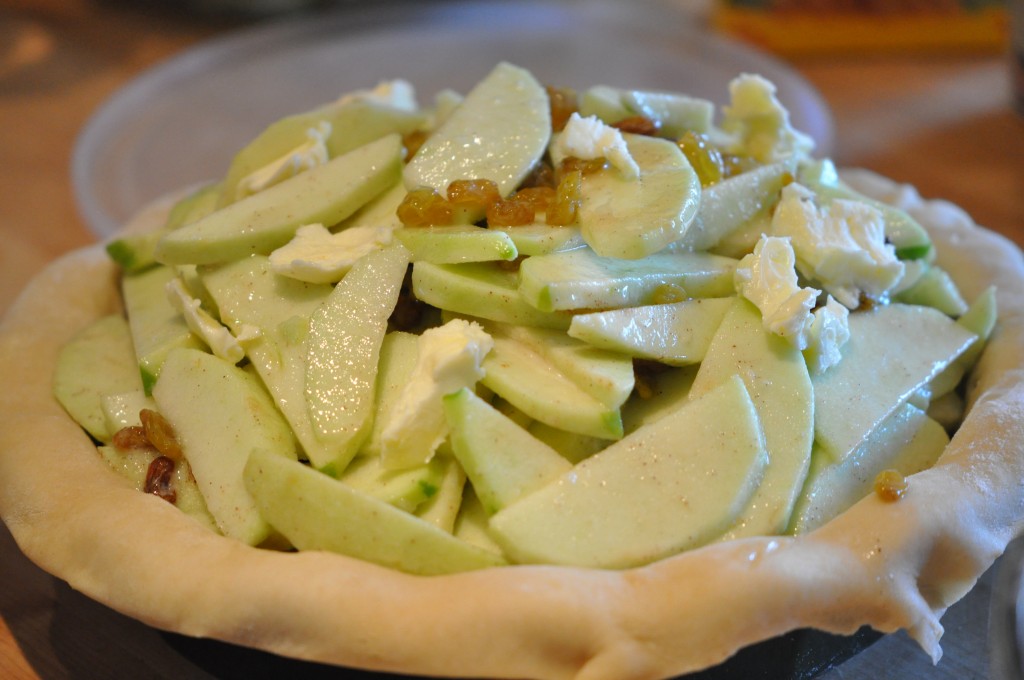
Before The Top Crust Is Put Into Place
1 Recipe Pate Sucre
7-8 Large Granny Smith Apples (About 5 Pounds) Peeled, Cored and Sliced
¼” Thick
1 Cup Golden Raisins (Optional)
1 Cup Toasted Pecans (Optional)
1 Cup Granulated Sugar
¼ Cup All-Purpose Flour
¼ Cup Corn Starch
1 Teaspoon Fine Sea Salt
1 Teaspoon Ground Cinnamon
½ Teaspoon Ground Nutmeg
2 Tablespoons Fresh Lemon Juice (DO NOT USE BOTTLED)
2 Tablespoons Cold Unsalted Butter Cut into Small Pieces
1 Large Egg Beaten with 1 Tablespoon Cold Water
Coarse Sanding Sugar for Pie Top
Preheat oven to 425 Degrees F (400 if using a convection oven). Place the oven rack in the lower third of the oven.
In a large bowl combine the apples, raisins, pecans, sugar, flour, corn starch, sea salt, cinnamon, nutmeg and lemon juice. Toss until well combined. Set aside.
On a lightly floured surface, roll out one disk of pastry into a 11 or 12 inch circle approximately 1/8” thick. When rolling add a little flour to the top of the pastry so the rolling pin won’t stick. To make a evenly round circle when rolling make a quarter turn with the pastry. In other words, give a few rolls over the pastry, lift the pastry off of the rolling surface and turn it to the right 90 degrees. Do that three times while rolling and you will have a perfect circle. Gently roll the pastry up on the rolling pin and lift over the top of a 9” deep dish pie dish and roll out. Gently press into the pie dish. You should have about a one inch overhang.
Place the apple pie mixture into the pastry lined dish evenly distributing the apples. This will allow more even cooking. Pour any juices that may be in the bottom of the bowl over the top of the apple mixture. Dot the apple mixture with the 2 tablespoons of cold butter pieces. Brush the edges of the pastry with the egg wash.
Roll out the second disk of pastry in the same manner as the first. Place the rolled pastry over the apples. Seal the edges by trimming with a scissor. Press the edges decoratively with your thumb and fore-finger.
With a sharp thin knife make a whole in the top of the pie to let out the steam while it cooks. You don’t want it to explode in the oven – and believe me, it will if you don’t vent the pie. Brush the top of the pie with the egg wash and sprinkle with the sanding sugar.
Place the pie on a sheet pan with holes (such as a pizza pan) lined with parchment paper. Bake the pie for 15 minutes and turn down the oven temperature to 375 Degrees F (350 if using a convection oven). Bake the pie for 1 hour more or until the top is nicely browned and the juices are bubbling. You will see some of the juice leek out of the pie on the side. To be sure the apples are cooked, insert a skewer into the vent at the top of the pie. There should be no resistance when the skewer goes through the apples.
If the pie is not cooked through and the crust is beginning to get too brown, loosely cover the pie with aluminum foil by making a tent. You do not want to crush the pie or cover the vent tightly.
Remove from the oven to a wire cooling rack and let the pie cool completely before serving. I like to serve this pie with caramel sauce and Vanilla Ice Cream or Gelato.
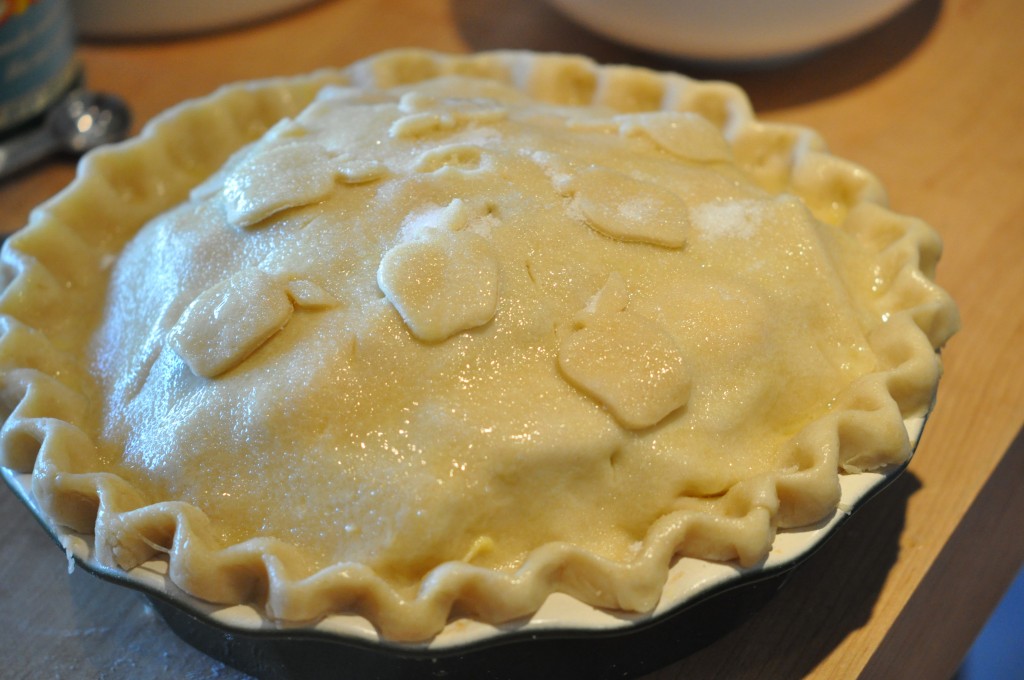
Just Before Going Into The Oven
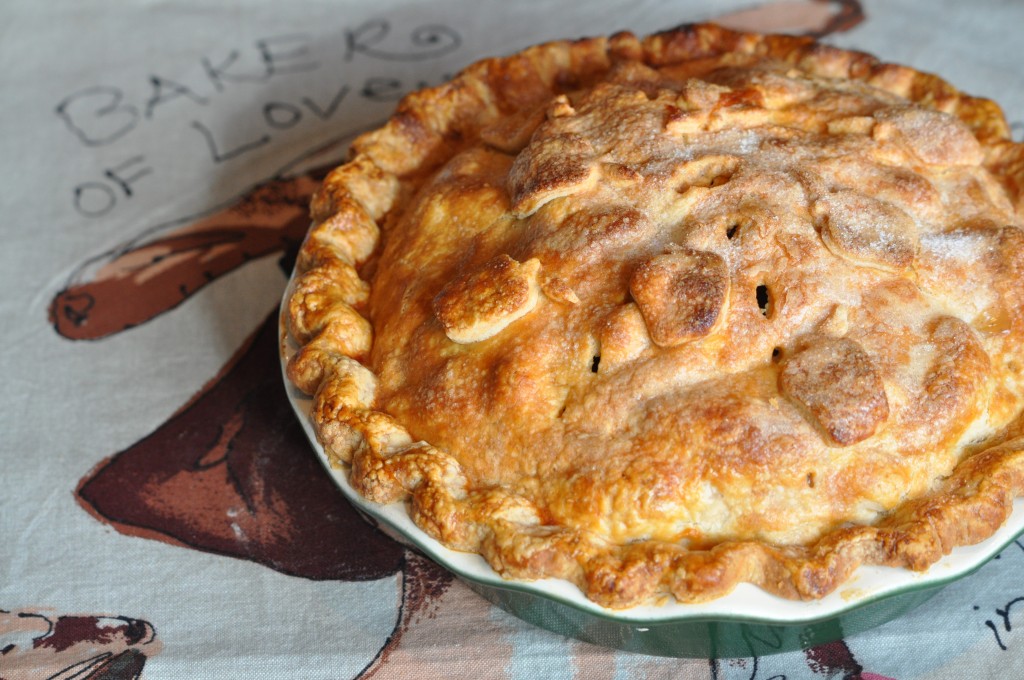
Apple Pie Made With Love
Caramel Sauce
Be sure to use a large deep pan when making Caramel Sauce. The sugar gets so hot that when you add the cream it bubbles and boils up and can easily boil over. When adding the cream be sure to do it slowly.
Makes 3 Cups
2 Cups Granulated Sugar
1/4 Cup Water
2 Cups Heavy Cream, Heated
In a large, deep heavy sauce pan put 2 cups sugar and 1/4 cup water. Swirl pan over high heat until sugar is dissolved and cook until mixture turns brown NOT BURNT. Remove from heat and add 2 heated cups heavy cream slowly as not to have the cream and sugar boil over. Mix and return to heat. Continue cooking over high heat until temperature on candy thermometer reaches 235 degrees. Remove from heat and let cool.
Store the caramel sauce in an air-tight container for up to one month.
So there you have it. Apple Pie, so delicious and so satisfying. Also, so much instant gratification. And isn’t that what cooking really good food is all about? I hope you enjoy making and eating this Apple Pie. Don’t forget, if you have any questions please ask either by e-mailing me or commenting directly on the blog.
camille@camillecooksforyou.com
All Recipes are Copyright 2011.
